How I Migrated The Ghostboard Blog from Bitnami Ghost (on AWS) to Ghost Pro 🚀
Learn why I moved from a Bitnami Ghost stack on AWS to Ghost Pro, how I did it and how it improved my SEO, performance and peace of mind


If you're running a self‑hosted Ghost blog—especially using the Bitnami stack on AWS—you’ve probably spent hours updating Ghost CLI, managing upgrades manually, and troubleshooting server configs. I was in the same boat.
This post explains why I moved from a Bitnami Ghost stack (on AWS) to Ghost Pro, how I did it, and how it improved my SEO, performance, and peace of mind.
🧠 Why I Migrated from Bitnami (AWS) to Ghost Pro
- Manual updates were painful
Every Ghost major or minor version required a careful upgrade withghost-cli, and Bitnami often complicates the process. Even simple npm updates or permission tweaks became server nightmares. - Time and maintenance overhead
From server backups to managing Nginx, Node versions, SSL, migrations, and backups, I spent a lot of time that added zero value to my blog content. - Risk of breaking changes
Bitnami’s custom file structure, internal Apache/Node management, and hidden configs meant that even a minor change could break media, themes, or routing. - Better SEO and site UX
Ghost Pro handles HTTPS, performance optimizations, sitemaps, metadata, automatic updates, and mobile speed—all by default. - Focus on writing, not server admin
With Ghost Pro, I could finally concentrate on content and growing my audience, without worrying about server crashes or CLI errors.
📦 Preparing for the Migration: Export Everything
I followed the official Ghost migration guide to ensure a clean export/import workflow:
- 1. Export content: In your self‑hosted Ghost Admin under Labs, use the Export content button. You get a
.jsonfile with posts, pages, tags, and metadata. - 2. Export redirects and routes: Download your
redirects.yaml(or.json) androutes.yamlfiles. In my case, I didn't have any. - 3. Export theme: In the Design view, Download your active theme
.zip(and any custom themes). I skipped this step and moved to a new theme. - 4. Export images: SSH into the server:
- I went to
/opt/bitnami/ghost/content(or/var/www/ghost/content), with:cd /opt/bitnami/ghost/content - I created a backup running
tar -czvf ghost-images-backup.tar.gz images. - I downloaded it to my laptop running
scp -i <myPEMfile>bitnami@<myServerIP>:/opt/bitnami/ghost/content/ghost-images-backup.tar.gz
Please note to update the values for your use case!
- I went to
- 5. Export members (optional): If you're using memberships, export the CSV from the Members dashboard. Connect your Stripe account before importing, or your users won’t map properly to ghost.org. In the Ghostboard.io blog there wasn't any so I skipped another step 😀
🎯 Importing Into Ghost Pro: The Simple Steps
Once I signed up for Ghost Pro and had a brand new site ready, here's the import order I followed in the Ghost Admin dashboard:
- Import content: Go to Settings → Advanced → Import/Export, upload the
.jsonexport into the Universal Import
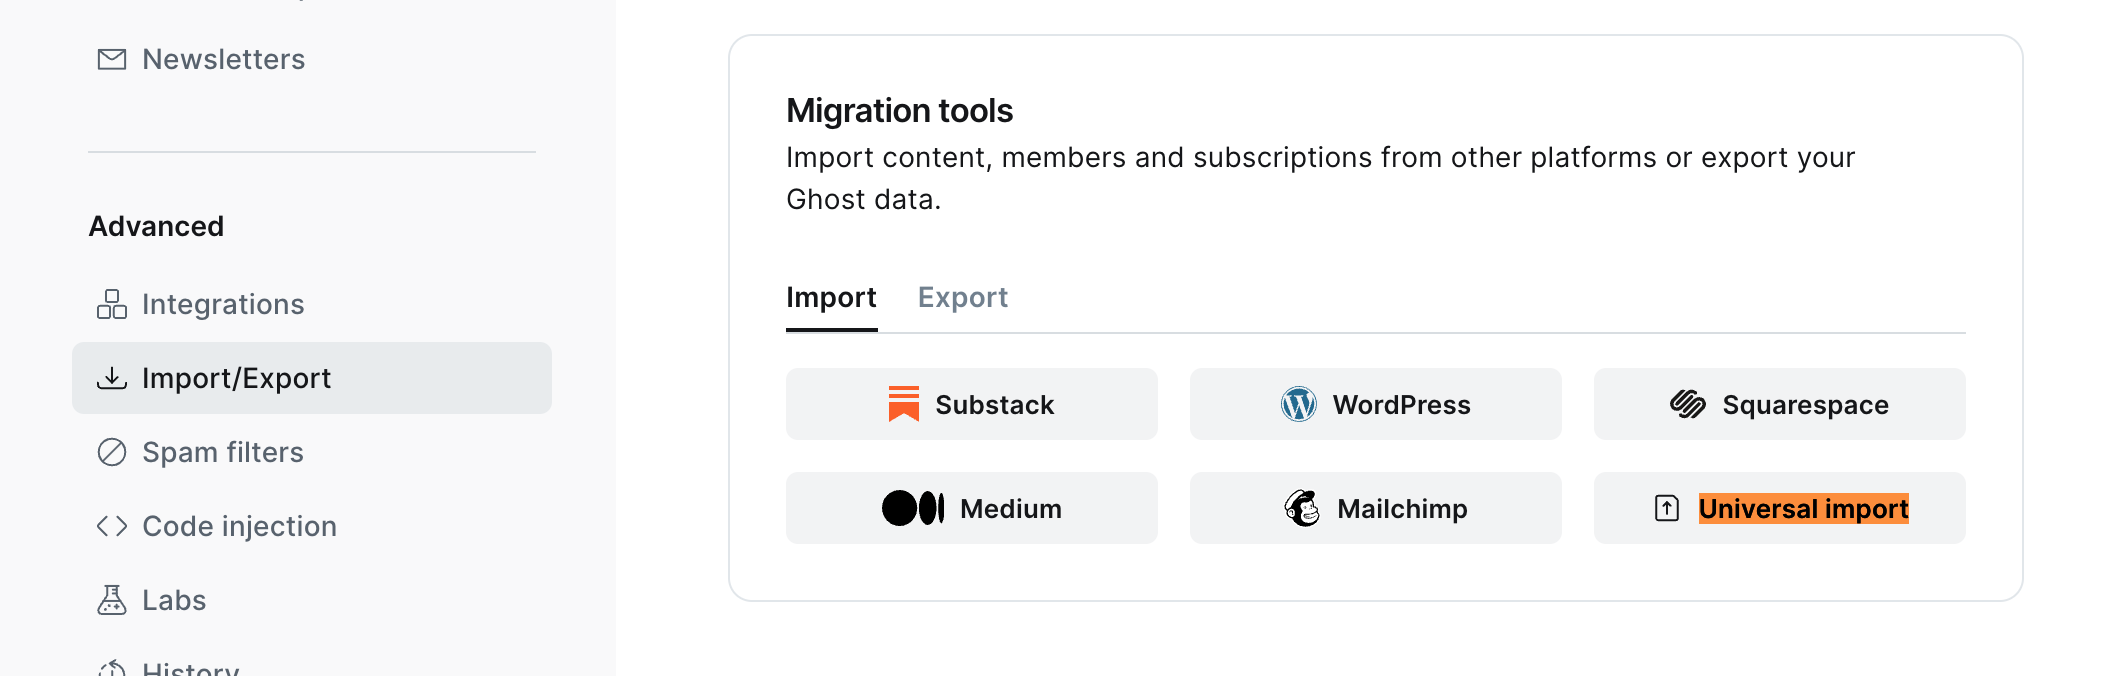
- Upload images: I uploaded the zip file in the same way as previously: Universal Import. Magically, it worked perfectly! 👌
✅ After import, spend time reviewing content, checking images, redirects, and routes to make sure nothing broke.
I didn't face any issues at all.
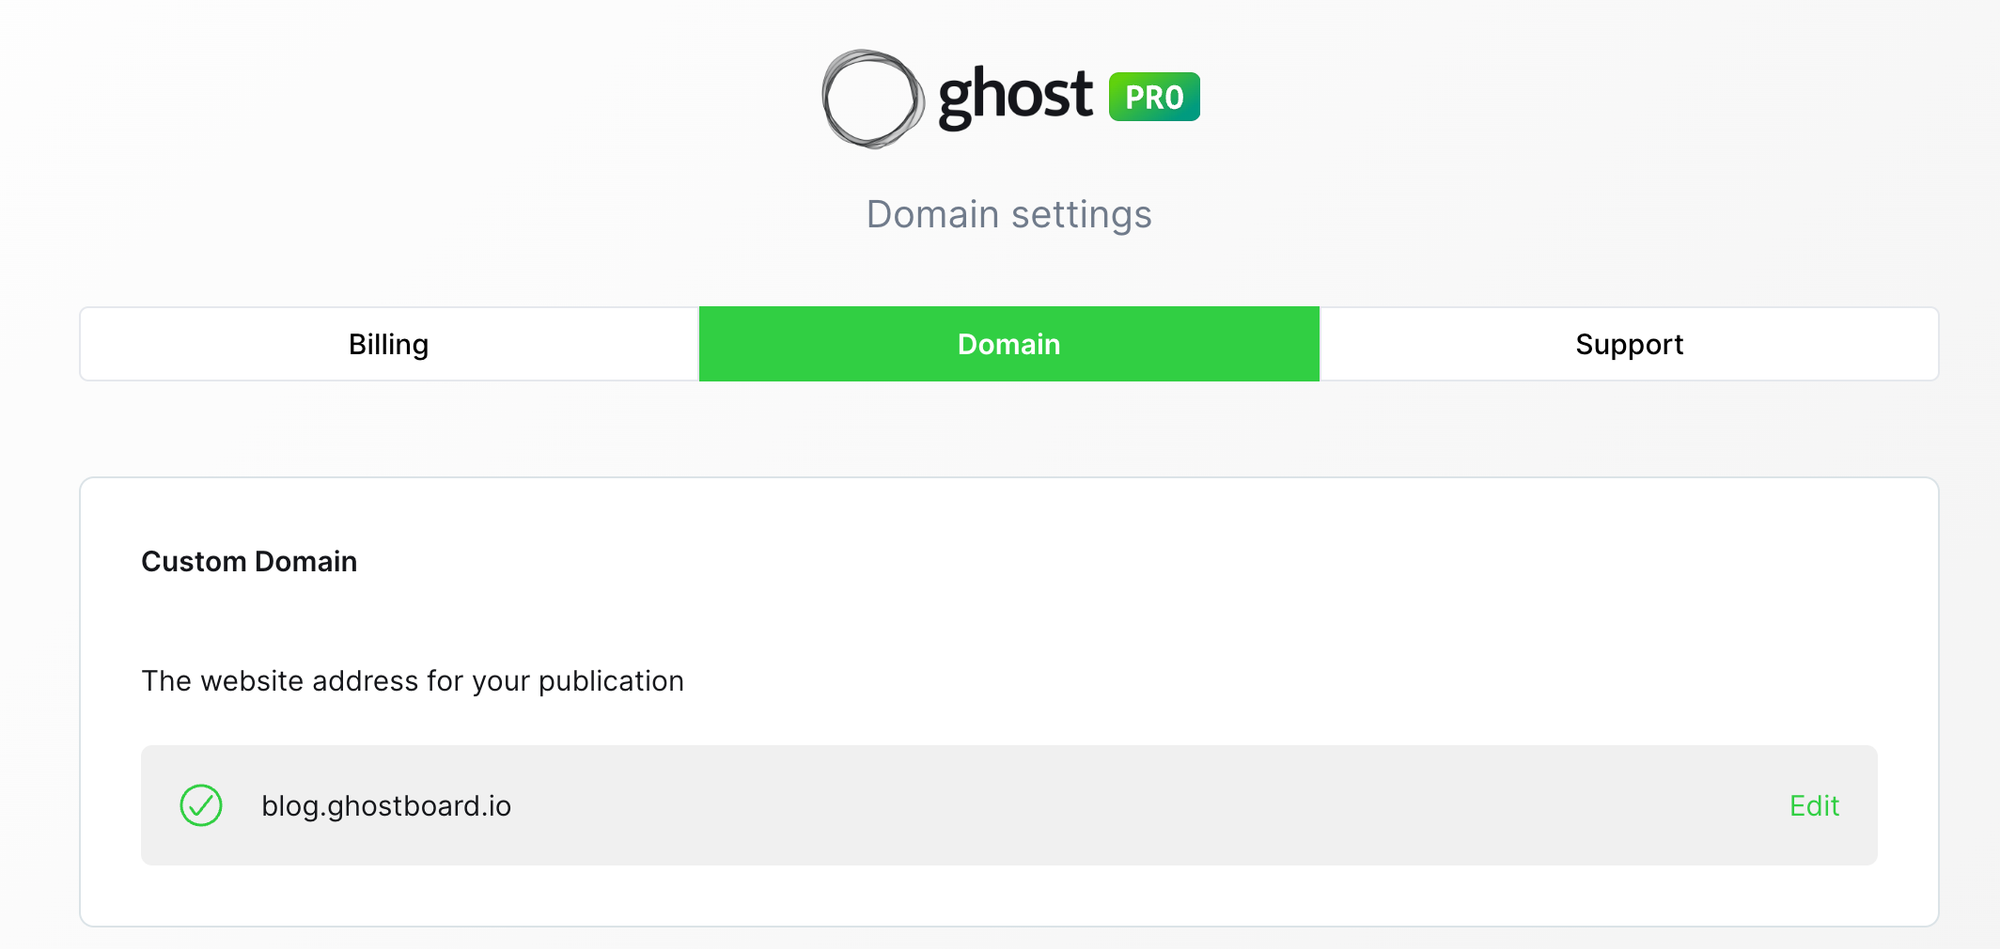
Since the Ghostboard.io blog was on ghostboard.io/blog as a subfolder:
- I set up the custom domain on Ghost Pro as
blog.ghostboard.io
- Then I updated my Nginx config to redirect permanently all the previous URLs to the new site with:
location ^~ /blog {
  rewrite ^/blog/(.*)$ https://blog.ghostboard.io/$1 permanent;
}
Finally, I updated some blog links on the web.
🧩 Post‑Migration Checklist (SEO‑focused)
- Check meta titles and descriptions on key pages/posts.
- Audit image alt attributes for keyword relevance.
- Run a broken‑link check—Ghost redirect import usually covers this, but just in case. Ghostboard.io can help you here!
- Submit updated sitemap to Google Search Console.
- Run a page‑speed test (e.g., Lighthouse) and fix slow pages.
- Enable AMP if your theme supports it (Bitnami bundles AMP, Ghost Pro includes it too).
- Check analytics: integrate either Google Analytics, Plausible or Ghostboard.io for referral tracking and engagement metrics.
✅ Final Thoughts
Migrating from a self‑hosted Bitnami Ghost on AWS to Ghost Pro was one of the best things I did for my blog. I left behind constant server updates, configuration headaches, and media issues—and gained speed, SEO performance, automatic maintenance, and peace of mind.
If you're a Ghost self‑host user spending time on server upkeep rather than writing, I highly recommend considering Ghost Pro migration. With careful export/import (content, images, redirects, members), you can make the transition smooth—and it's a perfect opportunity to polish your SEO setup.
Level up your Ghost blog 🚀
Start your free trial now and explore all Ghostboard features for free. No credit card is required.